
Kids Art Bag Tutorial
I know a little boy who is 3 and loves Postman Pat. I manager to track down some vintage fabric and decided to make him a little art bag.


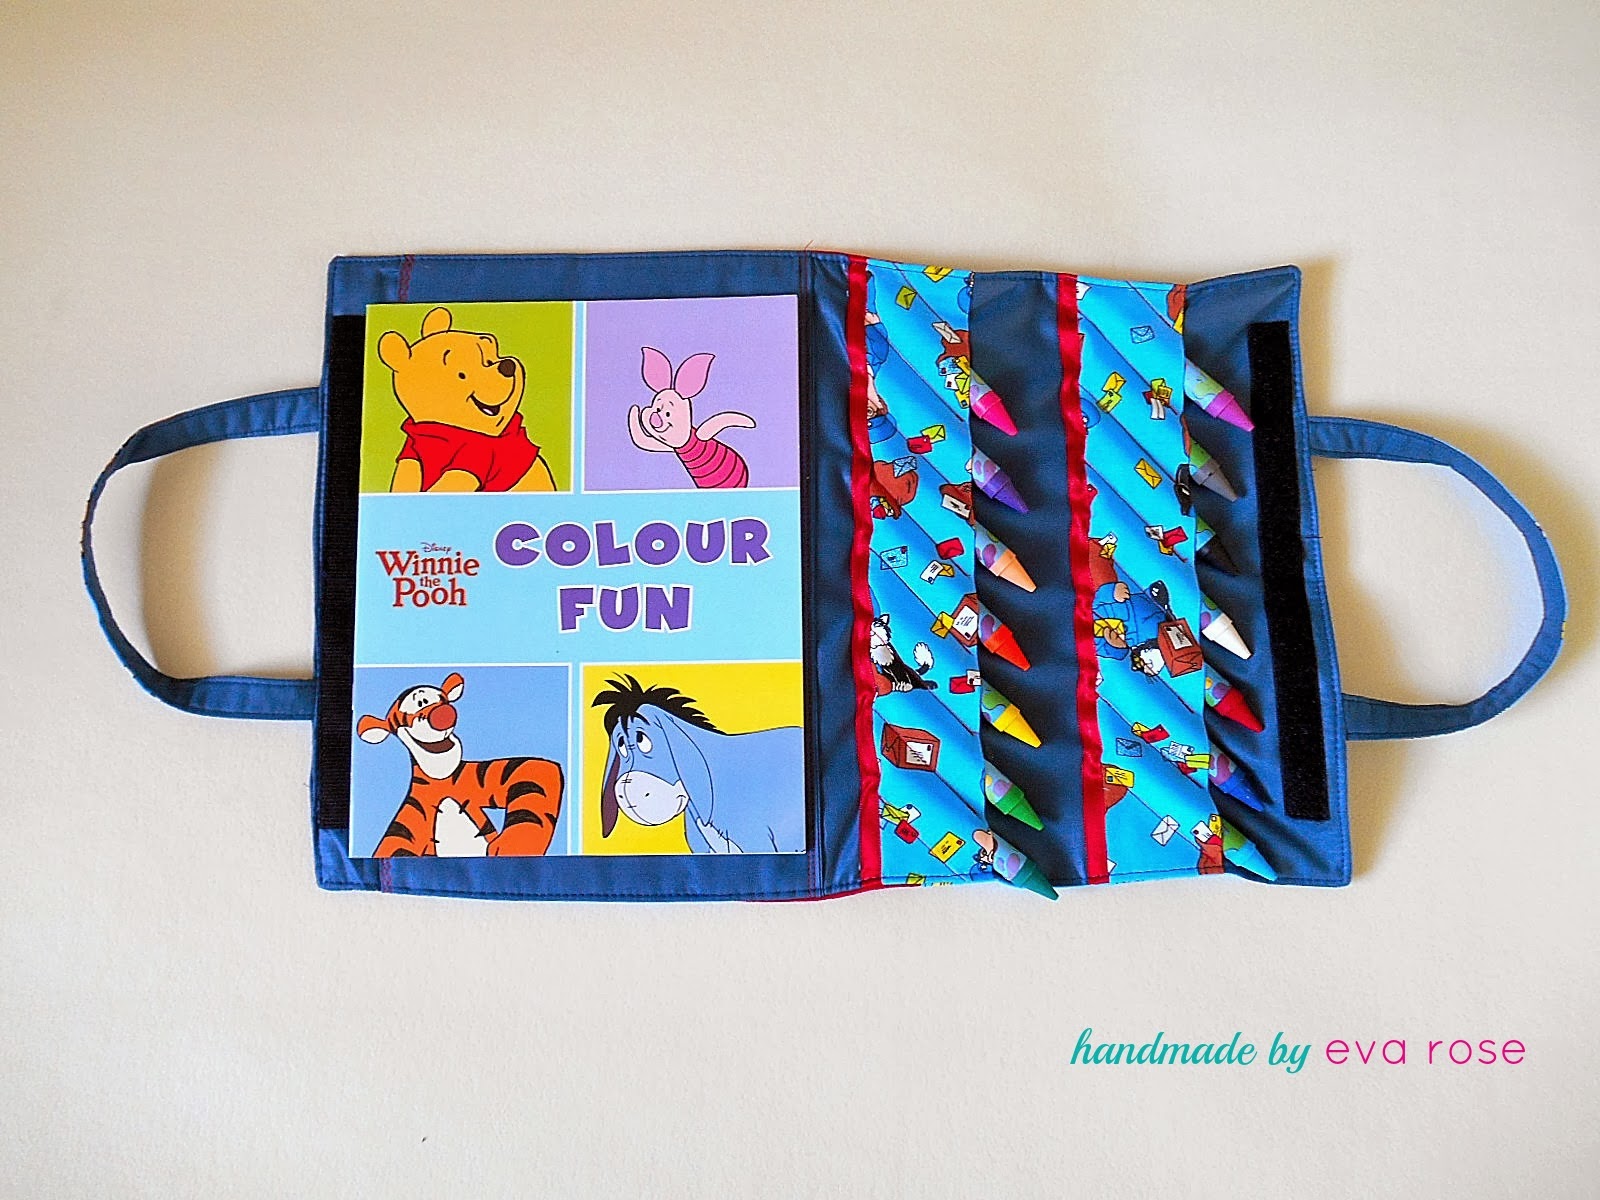
Isn't it cute?
My bag has been designed to accommodate an A4 (copier paper size) colouring book and large crayons.


It is designed so that the child can open the book inside the bag and still have the crayons in full view. Great for travelling or using in restaurants- all held in on place.
If you want to make this, here is the tutorial
Supplies you will need:
*1 Fat Quarter (Post man Pat)- You will use this for outer, straps and crayon slots:
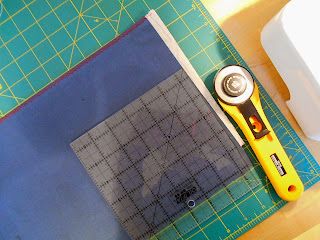
Cut one 20 x 13 inches outer, two strap pieces 1 3/4 x 12 inches, two pieces measuring 4 3/4 x 13 inches for the crayon slots
Cut one 20 x 13 inches outer, two strap pieces 1 3/4 x 12 inches, two pieces measuring 4 3/4 x 13 inches for the crayon slots
*2 Fat Quarters (Navy Blue)- You will use this for inner main, straps and book sleeve, you will have left overs:
Cut one 20 x 13 inches inner, one 17 x 13 inches book sleeve, two strap pieces 1 3/4 x 12 inches,
two 3 x 13 inches for edging of outer
Cut one 20 x 13 inches inner, one 17 x 13 inches book sleeve, two strap pieces 1 3/4 x 12 inches,
two 3 x 13 inches for edging of outer
*2 Fat Quarters Fusible Fleece to cut:
one 20 x 13 inches fusible fleece for main outer
two strips 1 x 13 inches for straps
one 8 x 13 for book sleeve
* 1 Fat Quarters fusible interfacing FIRM
Cut one 20 x 13 for inner main, two 2 1/4 x 13 for the crayon slots.
* Ribbon 26 inches to hide seams of crayon slots (Red)
* 1 Fat Quarters fusible interfacing FIRM
Cut one 20 x 13 for inner main, two 2 1/4 x 13 for the crayon slots.
* Ribbon 26 inches to hide seams of crayon slots (Red)
Get Making
1) Start with the outer.

I used 5 separate pieces to create it. 1 red strip, postman pat either side and 2 blue trips either side to edge. (This picture does not show the blue at the edge). Start by sewing together the fabrics on the long edge and ironing seams to one side. Once the piece was complete, I ironed on fusible fleece to the wrong side of the fabric.
Then pinned and top stitched near the seams for decoration.


You could also quilt it if you prefer. Press and trim as necessary to an oblong shape
2) The second step is to make the handles.


Press the seam flat with the iron ....

and fold Wrong Sides together and press again.

In the little fold you have made, nestle the strip of fusible fleece

and wrap one end of the fabric round it and press. To finish the handle, fold the other fabric to hide the raw edge and press.


Take to the sewing machine and stitch down each side, close to the edge.


Cut the straps as necessary to ensure they are exactly the same length.

On the outer pane, fold the fabric corner to corner to find find the middle of each short side. Mark with a pin


Position each handle an equal distance from the middle and pin.Check they match before sewing. Sew over the handles (close to the edge) twice to secure them in place.


Position each handle an equal distance from the middle and pin.Check they match before sewing. Sew over the handles (close to the edge) twice to secure them in place.
3) The inner
This part is made out of 4 areas.
a) A piece of fabric that will be the background, same size as the outer. I used stiff interfacing here for less bulk (you could use fusible fleece instead) and attached to the wrong side.
b) The colouring book sleeve is made of a piece twice the width of the colouring book plus 2 inches, folded in half wrong sides together.


Top stitch the folded edge- used a decorative stitch if you wish.Trim excess fleece.
You will notice the raw edges opposite the side you stitched are longer that the fleece.

 Fold them in as you did for the handles, creating a neat finish and top stitch.

You will still have raw edges at the shorter sides, but they will get caught and be hidden when sewing the bag together.

Place the fusible fleece inside the pocket and press


You will notice the raw edges opposite the side you stitched are longer that the fleece.


You will still have raw edges at the shorter sides, but they will get caught and be hidden when sewing the bag together.

Get you main inner fabric and the long side to find the middle. With the opening to slide the book in to your left, place the pocket on the main inner fabric, 1/2 inch from the middle.
c) The crayon slots
These are made as a slip pocket too.

These are made as a slip pocket too.

Interface the fabric on the wrong side and fold wrong side together to make along strip. I used firm interfacing and only applied to one half.

Fold in half and iron.
I wanted my crayons to face out, so I attached the first strip 1/2 right of the centre line of the main inner fabric.

Pin and test with the crayon size you have. Sew the long edge down on the left side. (Ignore the red ribbon here. We will use it later to hide the seams- I was testing how it looked)

Next, mark the slots for the crayons. Mine were done diagonally, 1 inch apart. I stitched each slot separately, backstitching at beginning and end.

If making 2 slots, repeat the process. To hide the raw edge and for decoration I stitched down red ribbon. Stitch the ribbon very close to the edge on both sides.


d) To close the bag I used a 10 inch length of velcro sewn to each short edge. Place the velcro at least 3/8 inch away from the raw edge, otherwise it will get caught in the seam later.

Press well the finished inner part.
4) Putting it all together.
Measure both the outer piece and the inner piece. If one is bigger, trim to ensure they are the same size. Place the outer piece right side up an the inner piece on it, right sides facing.
Ensure the handles are tucked in.

Pin all around, and sew all around, leaving a 5 inch gap for closing. I left mine near the handles which was a mistake. Opt for the gap in the long side. Clip the corners slightly to reduce bulk.
5) Turn the bag out through the gap and poke out the corners.

Press again, especially where the opening is, turning a nice edge for you to sew. Top stitch all round the outer of the bag, 1/4 from the edge.

And you are done!
I like to spray with starch and iron again, to make it look crease free and crisp. I then added the colouring book and the crayons, ready for delivery!

For a personal touch, you can embroider a name or message on the front. I will make a fabric tag with the name and tie it to the handles.


Enjoy!
I hope you liked the tutorial, I 'd love to hear your comments.
No comments:
Post a Comment